

How To Animate Shakey Text In After Effects
This simple expression can add jagged motion to any layer in your Later on Effects file to create a trendy shaking effect.
With the rising popularity of glitch effects in video editing, information technology'due south a useful skill to know how to brand a layer milk shake in Subsequently Furnishings. Y'all tin can use it to add some subtle motion to an otherwise static frame, draw emphasis to an of import object, or even make a character quiver in fear!
This tutorial will introduce you lot to the basics of the jerk expression that will affect a layer for the duration of the composition. (To larn more about making the wiggle start and stop, you can dive deeper into the particulars here.)
Gear up to beginning? Open your file and permit'south become shaking.
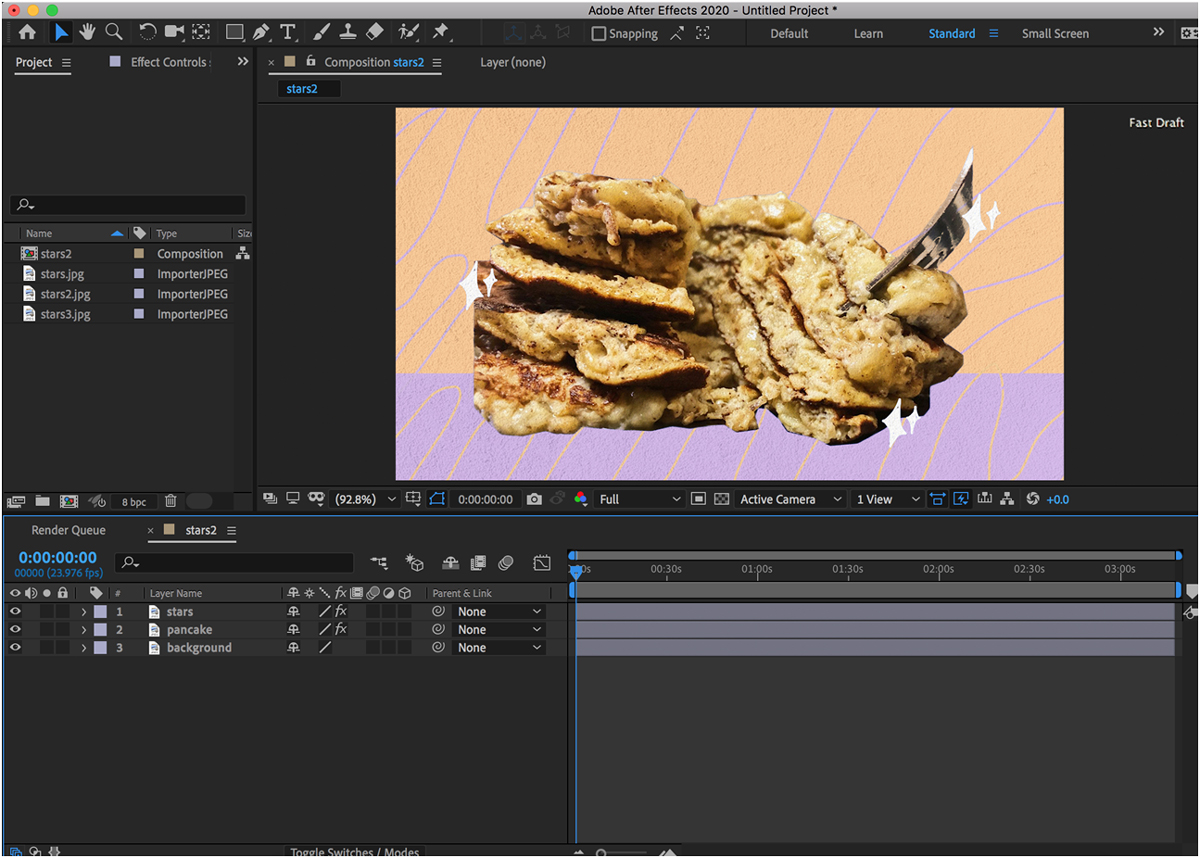
- In your after effects file, select the layer that you want to shake.
For this example, I have an epitome of pancakes and so some stars. I want to utilise a wiggling or shaking effect to both of these layers, so I will repeat these steps for both objects.
- Pressing the alt/option key, click the stopwatch abreast "position."
When you run into the position text turn red and begin typing in the timeline, you are creating what is called an "expression" in Subsequently Effects. Using a coding linguistic communication adapted from javascript, you tin use all sorts of customizable commands to utilize circuitous motion to layers. Observe the other things you tin do with expressions here.
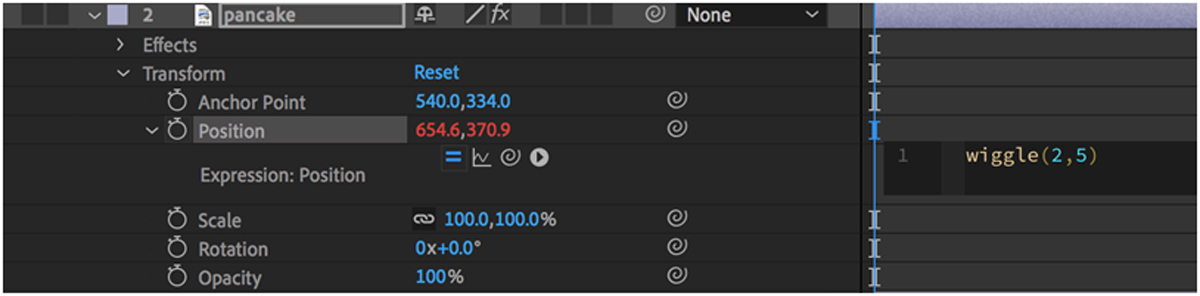
You tin can edit your expression at any time by hit alt/pick on the stopwatch over again—or past pressing the down arrow beside "position" and and so double-clicking the text in the timeline. - Type "Wiggle (3,viii)" and adjust the settings as necessary.
The starting time number in this expression represents the frequency of the wiggle—essentially, how fast it appears to shake. The second number represents the amplitude of the wiggle, which is how far it moves. You can adjust these numbers withal you would similar. Wiggle (2,forty) will make a layer shake dramatically, but slow. Wiggle (10,3) will make a layer dart around quickly without moving also much in whatsoever one direction.
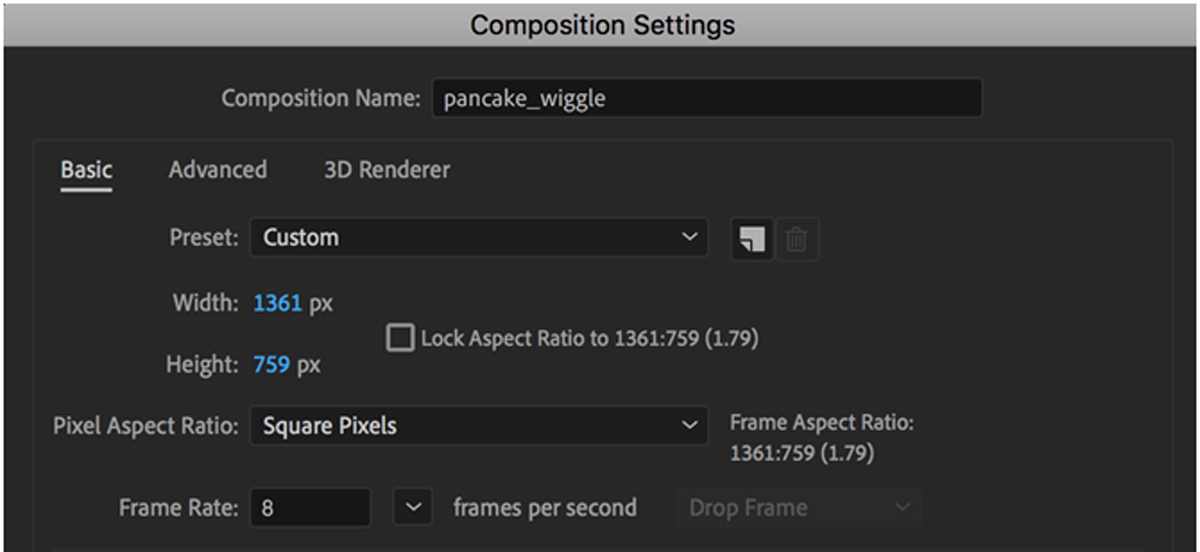
- Optional: Adjust the frame rate of your composition.
If you want more of a jerky jerk instead of something smooth, you can reduce the frame charge per unit of the video to make the overall consequence more "choppy." Get to Composition > Composition settings and lower the frame charge per unit. 24.five is standard in After Furnishings. Something similar "12" will give you lot a choppier experience, but you lot can go as low as "8."
Note: Reducing the frame rate will brand your entire composition choppier—so if you have other moving elements in your comp, it might not make sense to apply to everything. If yous just want the frame charge per unit to affect your fluctuant object, create a pre-comp containing the wiggling layer(s) and adjust only that frame charge per unit.
Source: https://futureisyours.adobe.com/en/blog/after-effects-wiggle.html
Posted by: mclachlanlaze1999.blogspot.com
0 Response to "How To Animate Shakey Text In After Effects"
Post a Comment